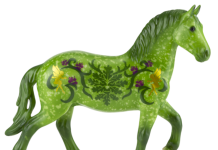
How to Decorate and color a model horse for Christmas theme can be a fun and creative project. Here are step-by-step instructions to help you achieve a festive look for your horse model
Materials You’ll Need:
- A model horse figurine
- Acrylic paint in Christmas colors (red, green, gold, white, and any other colors you prefer)
- Paintbrushes of various sizes
- A palette for mixing colors
- Water for rinsing brushes
- Paper towels or a cloth for blotting and cleaning brushes
- Fine-tipped markers or pens (optional)
- Clear varnish or sealer (optional)
Instructions:
- Prepare Your Work Area: Before you begin, set up a clean and well-lit workspace. Cover your work surface with newspaper or a plastic sheet to protect it from paint splatters.
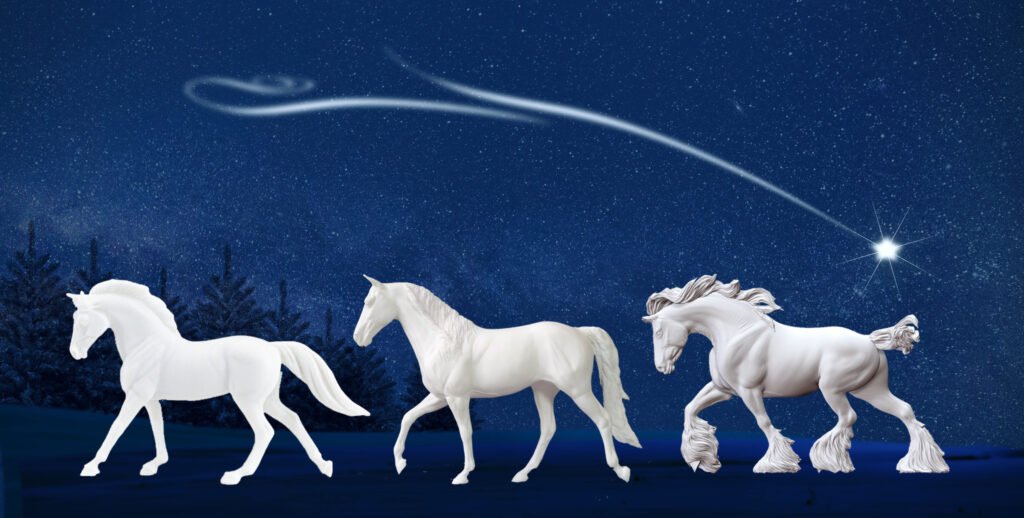
- Select Your Model Horse: Choose the model horse you want to decorate for Christmas. Make sure it’s clean and free from dust or dirt. If it’s not, clean it gently with a soft cloth.
- Plan Your Design: Decide on the Christmas theme you want to go for. Some popular ideas include Santa’s reindeer, a winter wonderland, or simply Christmas colors and patterns. Sketch your design on a piece of paper before starting to give you a guideline.
- Base Coat: Start by applying a base coat of white paint to your model horse. This will provide a clean canvas for your Christmas theme. Allow the paint to dry completely.
- Paint the Main Colors: Using your acrylic paints, begin adding Christmas colors like red and green. You can paint a red saddle blanket, a green bridle, or other decorative elements. Remember to let each layer of paint dry before adding details on top.
- Add Details: Get creative with the details. You can paint holly leaves and berries, snowflakes, or Christmas ornaments on the horse’s body. Use smaller brushes or fine-tipped markers for intricate details. Don’t forget to add eyes and hooves if your model has them.
- Highlight with Gold: Gold paint or accents can give your horse a festive touch. You can add gold trim to the saddle or create decorative patterns.
- Finishing Touches: After all the paint is dry, you can add a glossy finish to your model with a clear varnish or sealer. This step is optional, but it can protect your paintwork and give it a polished look.
- Let It Dry: Allow your decorated horse model to dry thoroughly. This may take several hours, depending on the thickness of your paint layers.
Display: Once your Christmas-themed horse model is dry and ready, find a prominent place to display it as part of your holiday decorations. It can be the centerpiece of your festive decor or a lovely addition to your Christmas-themed collection.
Remember, this project is a wonderful opportunity to express your creativity and celebrate the holiday spirit. Don’t be afraid to experiment with different designs and techniques to make your Christmas-themed horse model truly unique and special.


